
Last updated October 30, 2026
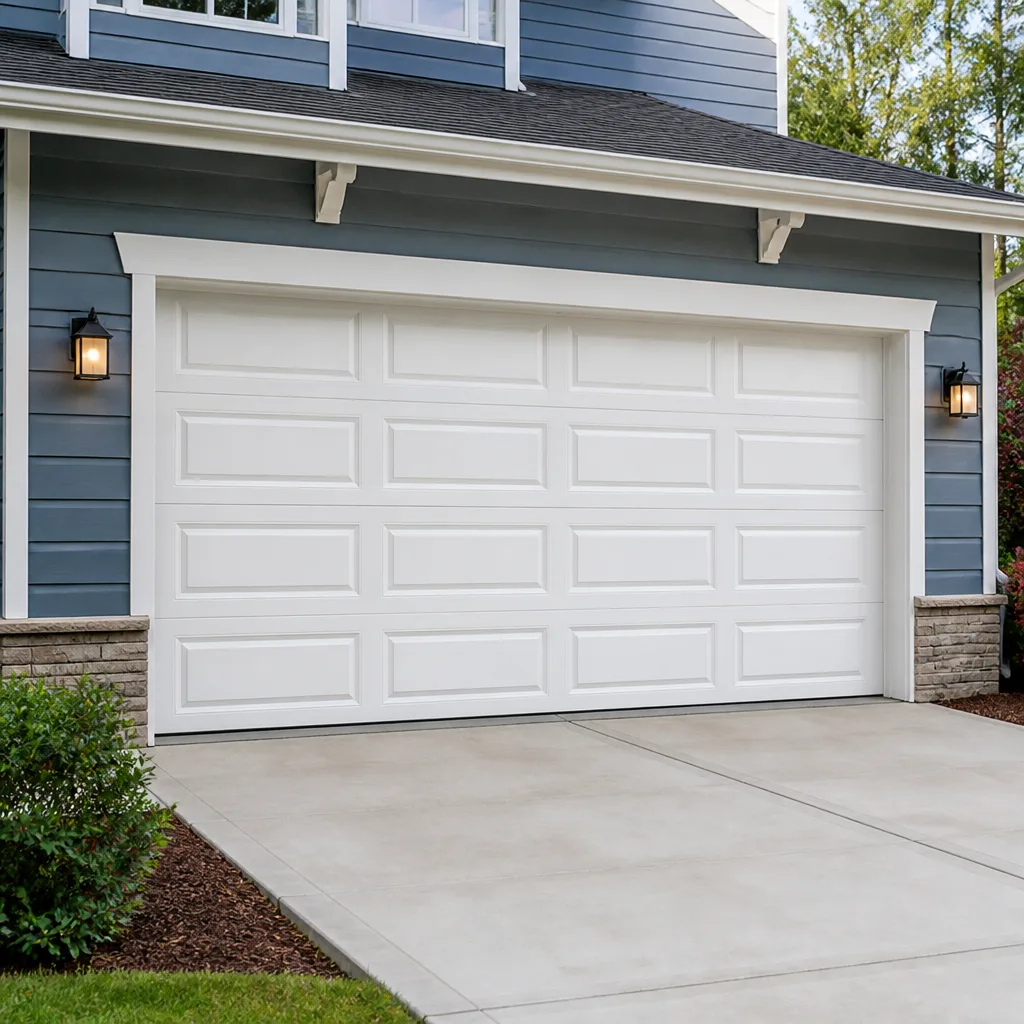 Raised-panel steel
 Carriage house
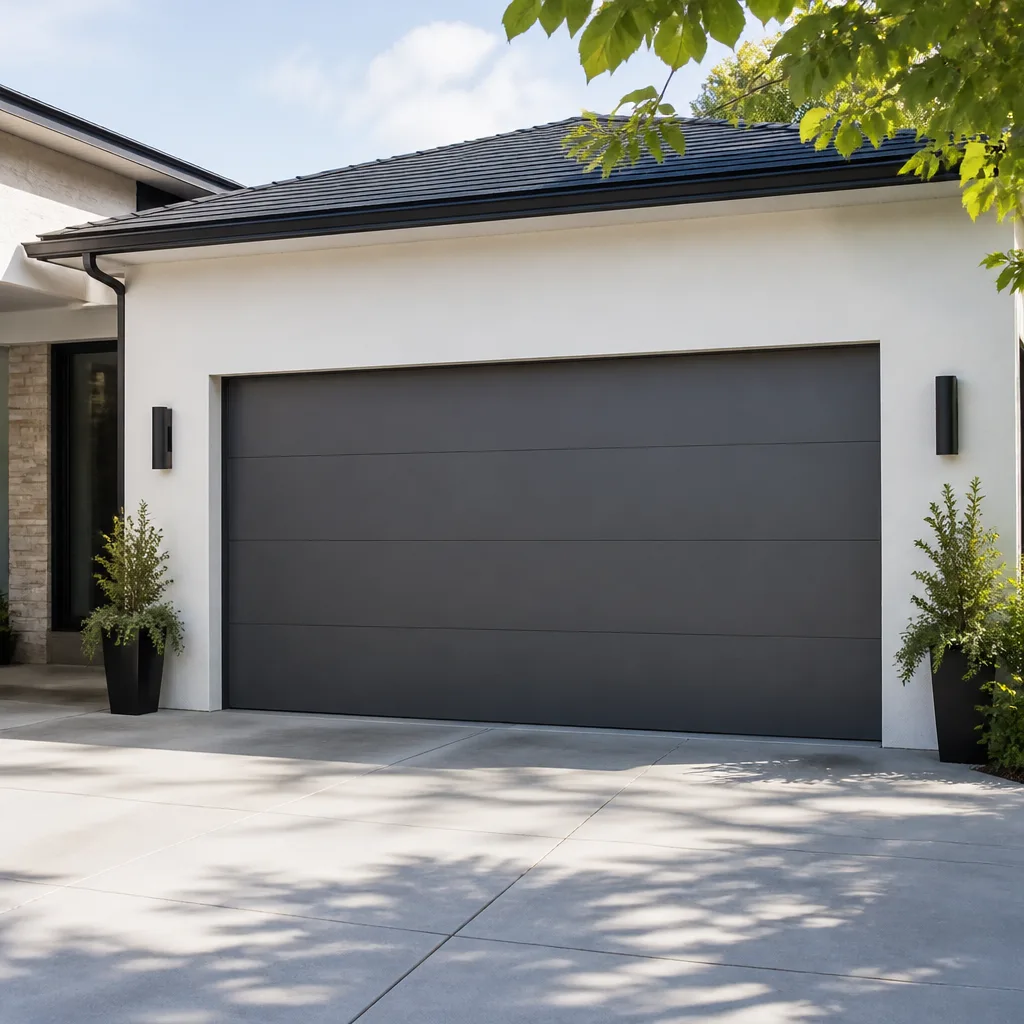 Modern flush
 Full-view glass
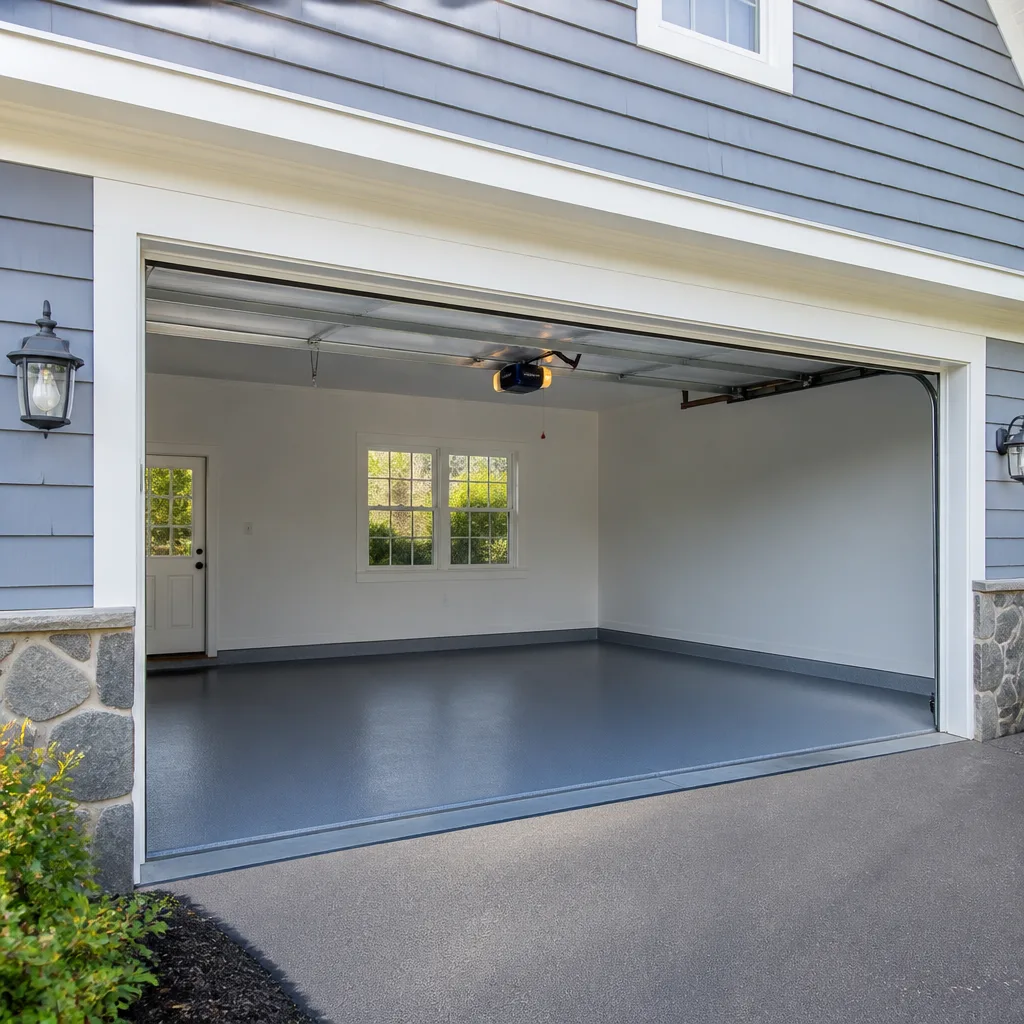 LiftMaster openers
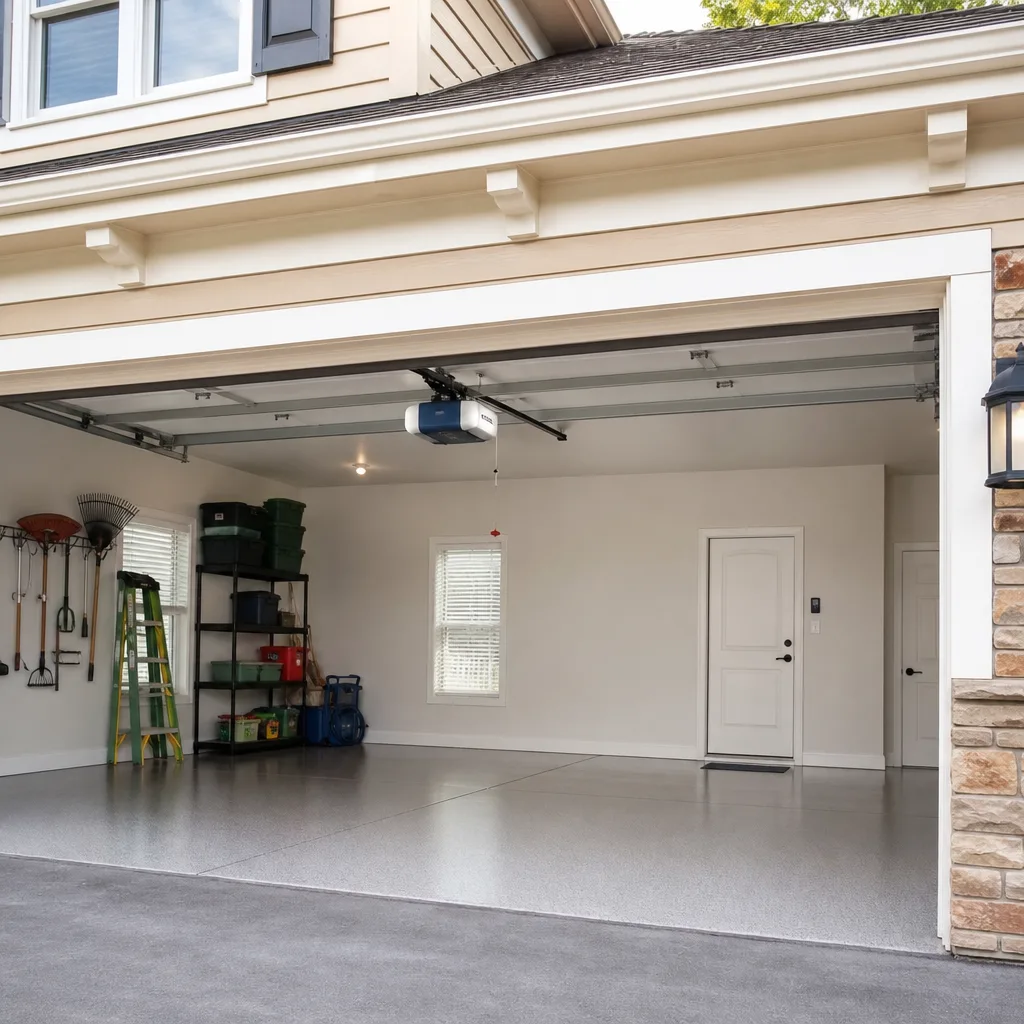 Chamberlain openers
Full 25-point door and opener safety check with every visit - springs, cables, rollers, tracks, and your LiftMaster or Chamberlain opener included
You get a price before we start. It does not change when the truck arrives.
Get your free estimateGarage Door Repair Maintenance Checklist for Ontario Homeowners
The most common “sudden” garage door failure in Ontario isn’t sudden at all. It’s a snapped cable that showed visible fraying for six months while the homeowner was checking the wrong things: wiping down the panels, testing the auto-reverse, maybe oiling a hinge or two. The cable was right there the whole time, unspooling strand by strand above the left side of the door. What follows is a Garage Door Repair Troubleshooting: Common Problems and How to Fix Them-style maintenance checklist organized by consequence, not convenience. Each task below maps to a specific failure mode we’ve seen play out in Ontario garages from the Preserve to the Creekside neighborhoods. If you understand why each step matters, you’ll catch the problem before it becomes a 10 p.m. emergency with a door that won’t close and a car trapped inside.
Styles & brands we work with
Quick Answer
A garage door maintenance checklist for Ontario, CA homeowners should prioritize: monthly visual inspection of cables, rollers, and tracks; seasonal lubrication of specific moving parts (silicone spray for nylon, lithium grease for metal-on-metal); spring tension testing twice yearly; opener force and sensor checks every three months; and immediate attention to any change in sound, speed, or balance. The highest-value maintenance tasks are cable inspection, roller wear assessment, and spring cycle monitoring, because these three components account for the majority of catastrophic failures in Ontario’s heat-and-dust climate.
Table of Contents
- Why Ontario’s Climate Demands a Different Maintenance Schedule
- The Monthly Visual Inspection: Your First Line of Defense
- Cable Inspection: The Task That Prevents Most “Sudden” Failures
- Roller Wear and Track Alignment: What a Flashlight Reveals
- The Lubrication Map: Which Parts Get What, and What to Skip
- Seasonal Maintenance: Summer Heat vs. Cooler Months in Ontario
- Opener-Specific Checks for LiftMaster, Chamberlain, and Genie Owners
- Three Maintenance Tasks That Can Void Your Warranty
- Common Mistakes to Avoid
- When to Call a Professional
- Frequently Asked Questions
- The Bottom Line
Why Ontario’s Climate Demands a Different Maintenance Schedule
Ontario sits in the Inland Empire, where summer temperatures routinely push past 100°F and the air carries fine dust from the Santa Ana winds. That combination, sustained heat plus abrasive particulate, does two things to a garage door system. First, heat accelerates the evaporation of lubricants, leaving metal parts to grind against each other. Second, dust acts as a fine abrasive that works its way into roller bearings, hinges, and opener gearboxes. A generic maintenance schedule written for a coastal climate like San Diego or Orange County overlooks both factors.
In our experience servicing garages across Ontario, the failure curve peaks in two windows: early July, when the first extended heat wave hits components that have been running dry since spring, and late November, when the first cold snap contracts metal that has worn thin over the summer. Homeowners who adjust their maintenance timing for these two windows, doing a deep check in late June and another in early November, catch most problems before they become repair calls.
If you only perform maintenance once a year, do it in late June. That single session, done thoroughly, prevents the majority of summer cable snaps, roller seizures, and opener failures we see in Ontario.
The Monthly Visual Inspection: Your First Line of Defense
The most valuable ten minutes you can spend on your garage door cost nothing and require no tools. A systematic visual inspection, done monthly, catches cable fraying, roller wear, track misalignment, and hinge problems at the stage where they are cheap to fix and before they become dangerous to ignore.
Here is the exact sequence we recommend, working top to bottom, with the door closed:
- Stand inside the garage facing the closed door. Look at the horizontal track brackets above your head. Are any bolts loosening or showing rust streaks? Rust streaks indicate moisture, and moisture plus metal equals corrosion that eventually fails under load.
- Move your eyes along the vertical tracks on both sides. Each track has multiple mounting brackets. Look for gaps between the track and the bracket, or bolts that have backed out slightly. A track that is drifting even a quarter-inch out of alignment will accelerate roller wear and eventually bind.
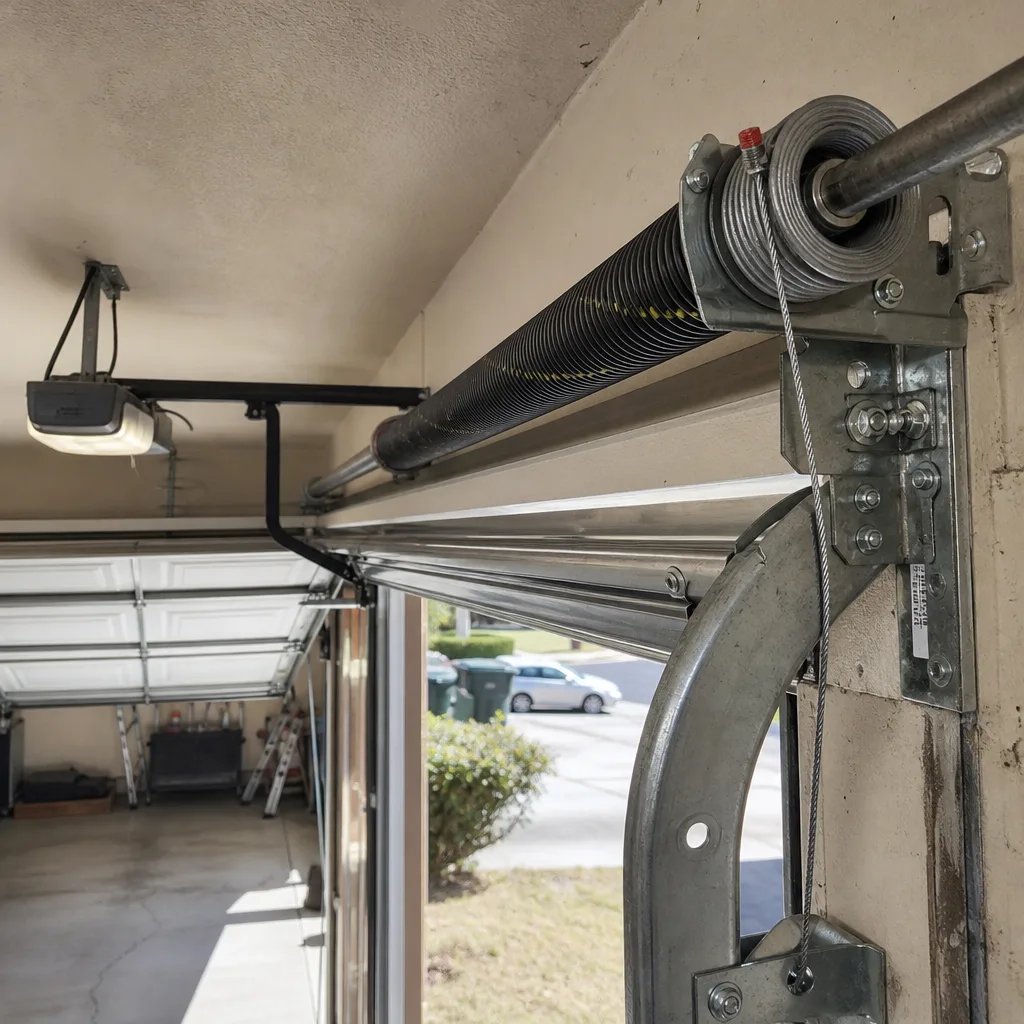
- Examine the torsion spring assembly above the door. Look at the spring itself, not the bar. Torsion springs should have consistent spacing between coils. If you see a gap in the coil pattern, that spring is broken or about to break. Do not touch it. Call a professional.
- Trace both safety cables. These are the cables that run through the spring (torsion systems) or along the sides (extension systems). Run your eyes, not your hands, along the entire length looking for any strand of wire poking out. That is fraying, and fraying means the cable is days or weeks from failure.
- Check the bottom weather seal. Look for cracks, gaps, or places where daylight comes through. A failed seal lets in dust, pests, and water, all of which shorten the life of everything else in the system.
If every monthly inspection returns a clean result, great. The discipline itself is the point. The one month you skip is the month a cable starts fraying, and that cable will not wait for you to notice.
Cable Inspection: The Task That Prevents Most “Sudden” Failures
Cables are the unsung workhorses of every garage door system. They bear the full weight of the door on every cycle, and they fail by fatigue: strand by strand, over hundreds or thousands of cycles. The failure is never sudden. It is always gradual. The trick is knowing where to look, because most homeowners never inspect cables at all until one snaps.
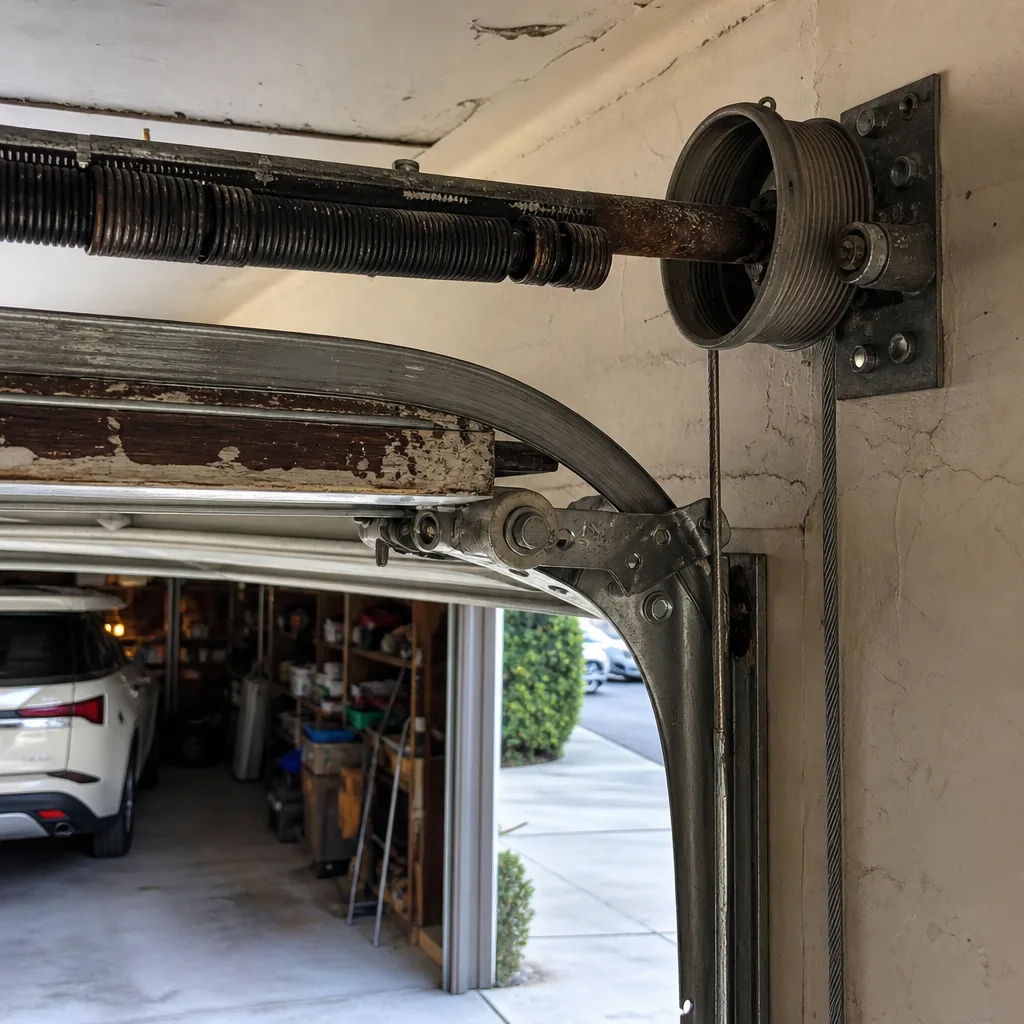
What cable fraying looks like: You are looking for any single wire strand that has separated from the main bundle. It will look like a tiny whisker or a fuzzy spot on an otherwise smooth cable. On galvanized aircraft cable, which is what most garage doors use, fraying often appears first near the cable drum (for torsion systems) or the pulley (for extension systems), because those are the points where the cable flexes most.
Where to look, specifically: With the door closed, the cables are slack and easiest to inspect. Start at the bottom bracket, where the cable anchors to the door, and follow it up into the drum. Any kink, any fuzz, any flattening of the cable profile, any discoloration that looks like rust, all of it merits a call to a professional. Do not attempt to tighten, adjust, or replace cables yourself. A cable under tension stores enough energy to remove fingers or worse.
What normal cable wear looks like in Ontario: Some surface darkening is normal, especially in garages near the 10 or 60 freeways where exhaust particulates accumulate. What is not normal is any change in the cable’s diameter or profile. If the cable looks thinner in one spot, if it develops a spiral corkscrew shape, or if individual strands are visible, that cable is beyond its service life.
Our technicians at Cobblestone Garage Door Repair replace worn cables as a pair, never individually. If one cable has reached the end of its life, the other is not far behind, and replacing both restores balanced tension across the door. For a deeper look at what cable and spring failure looks like in real Ontario homes, see our Garage Door Repair in Ontario page.
Roller Wear and Track Alignment: What a Flashlight Reveals
A flashlight is the single most useful garage door maintenance tool you own, because the problems that matter in a roller and track system happen in shadowed recesses where ambient light never reaches. Here is what to look for, with the door closed and no tools in hand.
Roller inspection in three passes:
- Pass one: the wheel itself. Nylon rollers should have a smooth, consistent tire. Look for flat spots, chunks missing from the tire, or visible cracking. Steel rollers should have a smooth rolling surface with no pits. In Ontario’s dry heat, nylon rollers can become brittle over time; hairline cracks in the nylon are the early warning sign of a roller that will eventually shatter.
- Pass two: the stem and bearing. The stem is the metal post that goes through the hinge. If the stem is loose, if the roller wiggles in the hinge, or if you can see wear marks on the stem itself, the bearing is wearing out. Worn bearings cause the roller to drag instead of spin, and a dragging roller wears a flat spot on the wheel and gouges the track simultaneously.
- Pass three: the track. Shine your flashlight along the inside of each vertical track. Look for scoring, grooves, or areas where the paint is worn away in a consistent line. Any deep scratch or groove in the track is a symptom of a failing roller that has been dragging. The roller is the cause, the track damage is the effect, and both need attention.
Track alignment check: The track should be a consistent distance from the door edge all the way down. Measure with your eyes first: stand at the back of the garage and sight down each track. Then measure with a ruler or tape measure if anything looks off. The gap between the door edge and the track should be the same at the top, middle, and bottom. Differences of more than 1/8 inch indicate the track has moved or been struck by a vehicle bumper, and misaligned tracks accelerate roller wear and eventually cause the door to bind or come off its track entirely.
If you do spot a roller with a flat spot or a track with a deep groove, that single component is shedding metal or nylon dust into the rest of the system. The repair is straightforward when caught early, and expensive when ignored. Cobblestone our Garage Door Repair services sees this pattern regularly in Ontario garages that have never had a professional inspection.
The Lubrication Map: Which Parts Get What, and What to Skip
Lubrication is the one maintenance task every homeowner knows they should do and very few do correctly. The wrong lubricant on the wrong part causes more problems than no lubricant at all, because it attracts dust, gums up moving parts, and gives a false sense of security. Here is the complete map for a modern garage door system.
Parts that get a silicone spray (light, dry, dust-resistant):
- Nylon rollers: Apply silicone spray to the bearing area only, not the tire. The tire runs on the track and needs no lubricant. A wet tire picks up dust from Ontario’s Santa Ana winds and turns into a grinding paste.
- Hinges: Every hinge pivot point, including the top and bottom of each hinge leaf. A hinge that squeaks is a hinge that is wearing, and the wear transfers to the door panels, which are not cheap to replace.
- Weatherstripping: A light coat of silicone on the bottom seal and side seals keeps the rubber flexible and slows sun damage. This is one of the few places where you are lubricating rubber, not metal.
- Door springs (cautiously): Torsion springs benefit from a light silicone or white lithium spray on the coils to prevent surface rust and reduce friction between coils. This is not for noise reduction primarily; it is for corrosion prevention. Apply sparingly.
Parts that get lithium grease (heavy, for metal-on-metal contact):
- Metal rollers: If your system uses steel rollers with unsealed bearings, a few drops of lithium grease in the bearing extends their life. If your steel rollers have sealed bearings, leave them alone; the seal keeps lubricant in and dust out, and adding grease only attracts more dust.
- The garage door opener chain or screw drive: Chain-drive openers typically use a light machine oil or white lithium grease on the chain. Screw-drive openers, as found on many Genie models, use a specific lithium-based grease that the manufacturer recommends. Apply sparingly, run the opener through one full cycle, then wipe off excess.
Parts that get nothing, ever:
- The track itself: Lubricating the track is the most common garage door maintenance mistake. The rollers do not slide on the track; they roll. Lubricant on the track does nothing but collect dust and create sludge. If your door is noisy, the problem is a worn roller or a loose hinge, not a dry track.
- The safety sensors: Wiping the photo-eye lenses with a dry cloth is fine. Applying any lubricant or cleaner to the sensor eyes is a mistake that can fog the lens and cause phantom reversing issues.
- The belt on a belt-drive opener: Belt-drive openers are quiet by design and require no lubrication. In fact, lubricating a belt shortens its life. If you own a LiftMaster or Chamberlain belt-drive opener, leave the belt alone.
Seasonal Maintenance: Summer Heat vs. Cooler Months in Ontario
Ontario’s maintenance calendar has two seasons that matter: the hot season, roughly May through September, and the cool season, November through March. The shoulder months, April and October, are ideal for deeper maintenance because the weather is mild and any problems you find can be addressed before the next stress period.
Summer (May through September): What to check and why
- Spring tension: Heat causes metal to expand, which slightly reduces spring tension. A spring that was borderline in April will be noticeably under-tensioned by July, and an under-tensioned spring forces the opener to work harder on every cycle. Openers are not designed to lift the door’s full weight; the springs are. If the springs are weak in summer, the opener is silently burning out its gearbox.
- Grease breakdown: High heat thins grease and can cause it to run out of hinges and roller bearings. Check for grease drips below hinges in late summer. If you see drips, the lubricant is gone from the pivot point, and that hinge is running dry.
- Cable flexibility: Continuous exposure to 100°F plus temperatures can make some cables slightly more brittle, especially if they are older and already fatigued. Combine a brittle cable with the increased cycle frequency of summer, when kids and cars go in and out constantly, and you have a recipe for failure. This is the single highest-risk check for Ontario summer.
- Weather seal integrity: Heat and UV exposure crack rubber seals faster than any other factor. A cracked bottom seal in July lets in hot air, dust, and pests during the exact months when you want to keep the garage cooler.
Cooler months (November through March): What to check and why
- Opener force settings: Cold temperatures make metal contract and lubricants thicken slightly. An opener that runs the door perfectly in August may strain in December. If your door seems slower or noisier on cold mornings, that is a force-setting issue, and it is worth having checked before the opener’s gearbox strips.
- Battery backup function: If your opener has a battery backup, cold weather reduces battery efficiency. Test the backup function twice during the cool season to ensure the battery will actually work during a winter power outage.
- Bottom seal compression: Cold makes rubber seals slightly less flexible, and a seal that was marginal in September may fail to close fully against the floor in December. Check for light gaps under the door on cold mornings.
- Condensation and rust: Ontario’s occasional winter rain plus garage temperature swings can cause condensation on metal parts. Check torsion springs, pulleys, and cables for rust spots, and apply a light silicone coat to springs if rust is forming.
Opener-Specific Checks for LiftMaster, Chamberlain, and Genie Owners
Your opener is the brain of the system, and like any brain, it has some quirks that vary by manufacturer. Here are checks specific to the three opener brands we service most often in Ontario homes, including checks the owner’s manual does not mention.
LiftMaster: LiftMaster openers, particularly the Security+ 2.0 line, use a belt or chain drive depending on the model. The most commonly missed check is the travel limit adjustment. If your LiftMaster door reverses before fully closing, or does not close flush to the floor in cold weather, the travel limits have drifted slightly. The fix is a minor adjustment on the opener’s control panel. Also check the opener’s diagnostic light: a blinking light on a LiftMaster is a specific error code, not a generic warning. When a LiftMaster flashes five times, it indicates a motor overheat or RPM sensor issue, which often accompanies heavy summer use and a drying chain.
Chamberlain: Chamberlain shares parentage with LiftMaster, and many components overlap. The opener-specific check we recommend for Chamberlain owners is the force sensitivity adjustment. Chamberlain openers tend to be set a little aggressively from the factory, and in Ontario’s heat, where door seals can soften and stick slightly to the floor, an overly sensitive force setting causes the door to reverse unexpectedly. A few clicks down on the force dial solves repeated false reversals. Also check the chain tension if you have a chain-drive Chamberlain: a sagging chain clips the rail guard and creates a thrumming noise that many homeowners mistake for a bearing problem.
Genie: Genie openers are often screw-drive units, which require the most specific lubrication routine of any common brand. Genie recommends their own branded screw-drive lubricant, a lithium-based grease, applied to the screw twice a year. In Ontario’s heat, that schedule compresses: we recommend lubricating a Genie screw drive every four months because the heat thins the grease and the dust accelerates wear. Other Genie-specific checks include the door contact reverse test and a visual check of the carriage assembly, which on older Genie models can crack from repeated heat cycling.
If your opener is from a different brand, the checks above still apply in spirit. Force settings, travel limits, and drive-lubrication are the three opener maintenance points that prevent most failures, regardless of brand. For mechanical or electrical issues you would rather not diagnose yourself, our Garage Door Opener Repair in Ontario service covers opener diagnostics across LiftMaster, Chamberlain, Genie, Raynor, and other major brands.
Three Maintenance Tasks That Can Void Your Warranty
Well-intentioned maintenance can void your door or opener warranty. These three tasks in particular appear in online tutorials and well-meaning neighbor advice, but doing them incorrectly, or doing them at all in some cases, gives the manufacturer grounds to deny a future claim.
- Lubricating a belt-drive opener’s belt. Belt-drive openers are designed to run dry. The belt is a fiber-reinforced composite that degrades when exposed to petroleum-based lubricants. LiftMaster, Chamberlain, and other manufacturers explicitly state that lubricating the belt voids the belt warranty. If your belt-drive opener is noisy, the problem is the tensioner, not a dry belt, and it needs professional adjustment, not lubricant.
- Adjusting torsion spring tension. Torsion spring adjustment changes the amount of force stored in the spring, and doing it wrong creates a door that is either dangerously over-sprung or under-sprung. More importantly, a homeowner who adjusts a torsion spring and then has a failure may find the manufacturer denies the warranty claim on the spring and possibly the entire door, because the adjustment was performed by someone other than a qualified professional. This is a job for a technician with the proper tools. The risk of voiding a warranty is secondary to the risk of serious injury, but it is real.
- Replacing rollers using the wrong type. If your door came with nylon rollers and you replace one with a steel roller, or vice versa, you create a wear mismatch that can damage the track. If the track is then damaged, the door manufacturer may deny a track warranty claim. Roller replacement should always match the existing roller type, and ideally, all rollers should be replaced as a set so the door wears evenly. If you are unsure what type of roller your door uses, calling a professional for a quick assessment is cheaper than replacing a track.
The unifying theme: homeowner maintenance is for inspection, cleaning, and light lubrication. Anything that changes tension, force, or component type is best left to someone who does it daily.
Common Mistakes to Avoid
- Lubricating the tracks. This is the most persistent myth in garage door maintenance. Rollers roll on tracks; they do not slide. Lubricating the track attracts dust, creates sludge, and offers zero benefit. If your door is noisy, the issue is the rollers or hinges, not the track.
- Checking the auto-reverse but not the balance. The auto-reverse test, pushing down on the door while it closes, is important but incomplete. A door that reverses properly can still have a failing spring. Disconnect the opener and lift the door manually halfway: it should stay in place. If it drifts or drops, the springs are at the end of their life.
- Ignoring new sounds. A garage door should sound consistent cycle after cycle. Any new squeak, grind, or pop is a component communicating that it is failing. In Ontario’s climate, a new summer squeak from a hinge means the lubricant has evaporated and the hinge is wearing metal on metal.
- Spraying penetrating oil on everything. Penetrating oil is for breaking loose rusted fasteners, not for lubricating garage door components. It is too thin to provide lasting lubrication and can strip away the lubricant that is already present. Use the right product for the right part, as outlined in the lubrication map above.
- Putting off cable replacement “until it actually breaks.” A frayed cable is a broken cable that has not finished breaking yet. Replacing a frayed cable is a planned, affordable repair. Replacing a snapped cable means paying for emergency service, and usually a bent track or dented panel that happened when the door crashed down.
- Forgetting that the opener has maintenance needs too. Homeowners diligently inspect the door and forget the opener entirely. The gearbox, chain or screw drive, and limit switches all wear, and an opener that fails can strand your car outside on the one morning you are already late. Opener maintenance is part of the system, not a separate category.
When to Call a Professional
Most of the checklist above is designed for homeowners who want to catch problems early, and you can find more guides & resources on our blog. Some problems, once found, should be handed off immediately. If you see a gap in a torsion spring’s coil pattern, that spring is broken or about to break, and the stored energy in a torsion system is not something to negotiate with at 7 a.m. on a Tuesday. If a cable shows any fraying, any kinking, or any change in diameter, that cable needs replacement before the next full opening cycle. If your door is visibly crooked in its tracks, if it scrapes hard enough to slow the opener, or if you have already disengaged the emergency release and the door still will not move smoothly by hand, the time for DIY has passed.
Any time a task involves stored spring tension, heights, or electrical components, we recommend a trained professional, not because the work is impossible to learn, but because the cost of a mistake is permanent. Cobblestone Garage Door Repair offers free estimates in Ontario, call (866) 667-5857, and we will tell you what is actually wrong. If the door needs to be replaced rather than repaired, our Garage Door Installation in Ontario service covers everything from a single panel to a complete system.
Frequently Asked Questions
A quick monthly visual inspection, roughly ten minutes, catches most problems early. A deeper seasonal maintenance session, with lubrication and balance testing, should happen twice a year: once in late June before the peak heat, and once in early November before the cool season. Ontario’s specific climate, sustained summer heat plus Santa Ana dust, makes the twice-yearly schedule more important than it would be in a coastal city. Call (866) 667-5857 if a monthly check ever turns up something that does not look right, and we will give you an honest assessment.
The cables. Most homeowners check panels, springs, and the auto-reverse feature, but never look at the two cables that bear the door’s full weight. A frayed cable is visible for weeks or months before it snaps, and catching it early turns a potential emergency into a routine replacement. In Ontario specifically, where the summer heat accelerates metal fatigue and dust is always present, monthly cable checks are the highest-value maintenance habit we can recommend.
Most of the inspection work and light lubrication is safe for homeowners. What is not safe, and what manufacturers generally require to be performed by a professional to maintain warranty coverage, is anything involving torsion spring adjustment, cable replacement, or opener force and travel limit changes. If a task involves stored spring energy, heights, or electrical components, it is worth calling a professional. For a full assessment without the pressure, you can always call (866) 667-5857 for a free estimate in Ontario.
Use a dry silicone spray on nylon rollers, hinges, and weatherstripping because it resists dust accumulation. Use lithium grease sparingly on metal-on-metal contact points like steel roller bearings and screw-drive openers. Avoid lubricating the tracks entirely, and never lubricate a belt-drive opener belt. In Ontario’s dusty conditions, lighter lubricants applied more frequently outperform heavy greases that attract and hold grit.
Disconnect the opener by pulling the emergency release cord, then lift the door manually to the halfway point. A properly balanced door stays in place. If it drops, the springs are weakening. If it stays put but feels unusually heavy when you lift it, the springs are also nearing the end of their life. Other signs include a visible gap in the torsion spring coils, a door that opens slower than it used to, and a door that looks slightly crooked when partially open. Spring replacement is a professional job, and for Ontario homeowners it is one of our most common repair calls, see our Garage Door Repair in Ontario page for details.
Yes, with a caveat. Regular maintenance does not prevent components from wearing out; it catches the wear before the component fails. The cable that snaps at 10 p.m. on a Sunday was frayed for months. The roller that seizes and drags the door off its track was squeaking for weeks. Maintenance is detection, and early detection is what separates a planned repair during business hours from an emergency call. We recommend pairing your own monthly checks with a professional inspection every 12 to 18 months, especially for Ontario homes that see heavy daily use.
The Bottom Line
Garage door maintenance in Ontario, CA is about understanding failure modes, not just following a generic checklist. Check your cables monthly, because cables are the component that fails most dramatically and gives the clearest early warning. Lubricate with the right product on the right part, and never on the tracks or the belt. Adjust your maintenance schedule for the heat: late June and early November are your two key windows. Inspect your opener’s force and travel settings seasonally, and know which tasks are safe to do yourself and which belong to a professional. A garage door is the largest moving object in most homes, and the few minutes a month you spend understanding it—along with our Garage Door Warning Signs: A Ontario Homeowner’s Reference Guide—will save you from the most frustrating, and most avoidable, repair calls in the trade.
Written by the team at Cobblestone Garage Door Repair home, serving Ontario and the Inland Empire since 2016.
See the difference
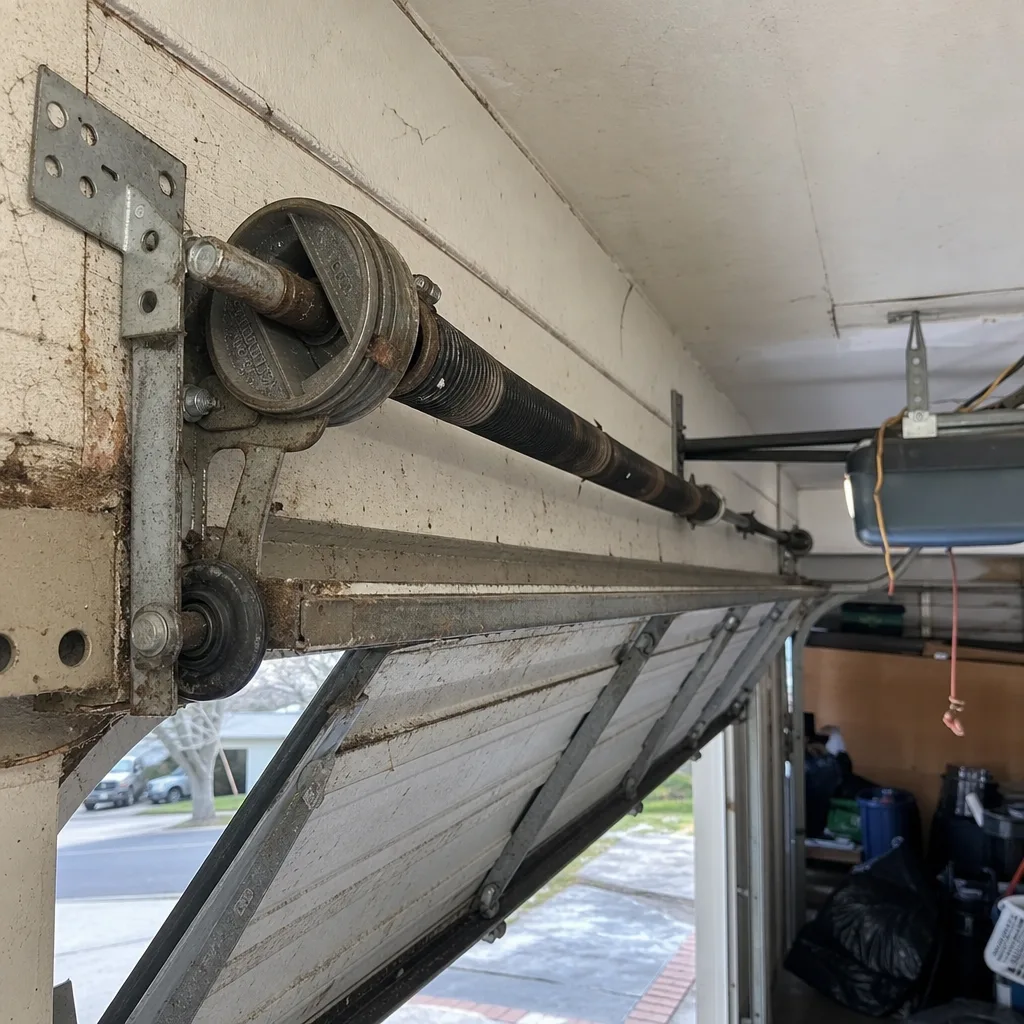
 Before
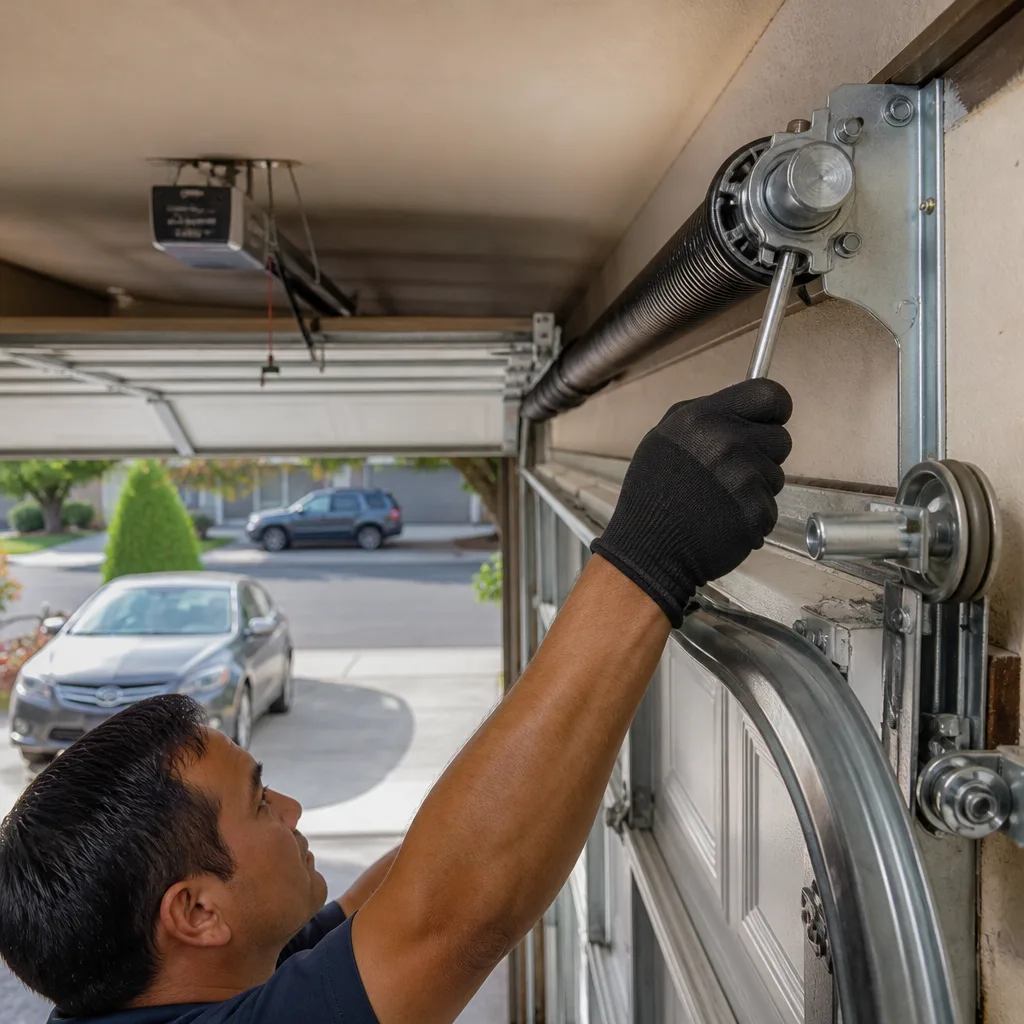
 After
 Before
 After
 Before
 After